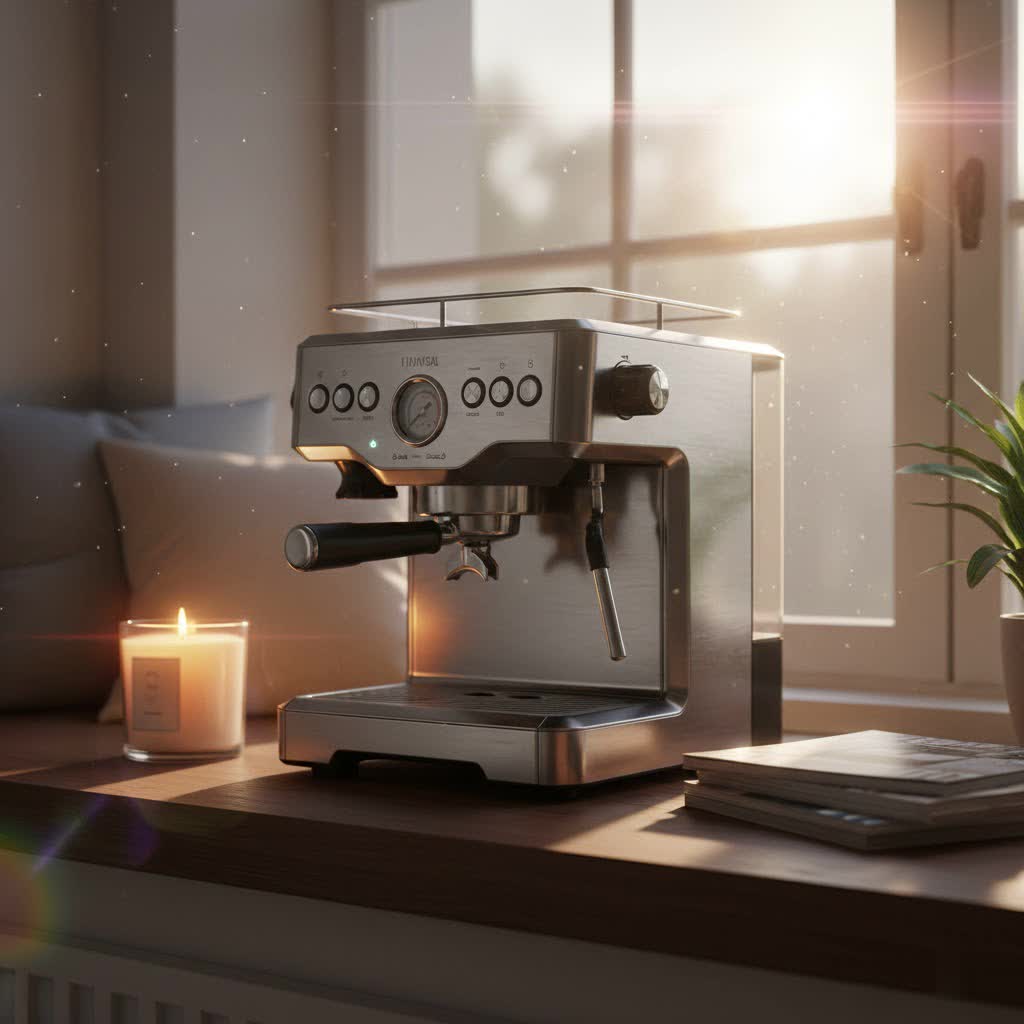
For any true coffee enthusiast, a Breville espresso machine is more than just an appliance; it’s the heart of their home barista setup. These machines craft exquisite espressos, lattes, and cappuccinos, bringing cafe-quality beverages right to your countertop. However, even the finest machines require diligent care to maintain their performance and the purity of your brew. One of the most critical maintenance tasks, often overlooked, is descaling. Neglecting this simple yet vital process can lead to dull-tasting coffee, reduced machine efficiency, and even permanent damage. This in-depth guide will walk you through everything you need to know about descaling your Breville espresso machine, ensuring it continues to deliver perfect shots for years to come.
What is Descaling an Espresso Machine?
Descaling is the process of removing mineral deposits, primarily calcium carbonate (limescale), that naturally build up inside your espresso machine’s heating elements, boilers, and water lines. These deposits accumulate over time from the water used for brewing and steaming. While water filters can reduce some impurities, they don’t eliminate all minerals that cause scale.
For Breville machines, this buildup is particularly important to manage as it can impede water flow, reduce heating efficiency, and eventually clog critical components. Ignoring limescale can lead to inconsistent water temperature, affecting the flavor extraction of your coffee, and can even cause your machine to stop working entirely. Regular descaling ensures your machine operates at optimal performance, extends its lifespan, and most importantly, preserves the pure, intended taste of your espresso. You’ll know it’s time to descale your Breville when the “Clean/Descale” light illuminates, typically every three to six months, depending on your water hardness and usage frequency.
Essential Components for Descaling Your Breville
Before you begin the descaling process, gather these items to ensure a smooth and effective clean:
- Breville Descaling Solution: Always use the descaling solution recommended or provided by Breville. These solutions are specifically formulated to be safe and effective for your machine’s internal components.
- Large Container: You’ll need a container, ideally 2 liters (68 oz) or larger, to place under the group head and steam wand to collect the descaling solution during the cycles.
- Water Tank and Drip Tray: Ensure these are empty and clean before you start.
- Water Filter: This must be removed from the water tank during descaling to prevent it from absorbing the solution.
It is crucial to emphasize: Do not use household vinegar to descale your Breville espresso machine, especially if it has aluminum components. Vinegar is an acid that can corrode aluminum, leading to irreparable damage and voiding your warranty. Stick to dedicated descaling products.
Step-by-Step Guide: How to Descale Your Breville Barista Express
While specific button sequences may vary slightly between Breville models, the general descaling process for machines like the Barista Express is largely similar. Follow these steps for a thorough descale:
Preparation is Key
|
Our Picks for the Best Espresso Machine in 2026
As an Amazon Associate I earn from qualifying purchases.
|
||
| Num | Product | Action |
|---|---|---|
| 1 | Ninja Luxe Café 3-in-1 Espresso, Drip Coffee and Cold Brew Machine - Integrated Coffee Grinder, Milk Frother, Assisted Tamper & Built-In Espresso Accessory Storage - Stainless Steel - ES601 |

|
| 2 | CASABREWS 3700 Essential Espresso Machine 20 Bar, Stainless Steel Cappuccino & Latte Machine with Steam Frother for Home, 43.9oz Water Tank, Coffee Gift for Women & Men, Silver |
|
| 3 | Gaggia Classic Evo Pro - Espresso Machine Jungle Green |
|
| 4 | De'Longhi Stilosa Manual Espresso Machine, Compact Coffee Maker, 15 Bar Pump Pressure, Manual Milk Frother Steam Wand for Authentic Single & Double Espresso, Lattes & Cappuccinos, Tamper Included |
|
| 5 | Breville Barista Express Espresso Machine BES870BSXL, Black Sesame |
|
| 6 | Gevi Commercial Espresso and Coffee Makers, Professional 20 Bar Espresso Maker with Milk Frother, Stainless Steel Expresso Coffee Machines for Home, Compact Cappuccino Machine, Great Gift |
|
| 7 | Breville Barista Express Espresso Machine BES870XL, Brushed Stainless Steel |
|
| 8 | Breville Bambino Espresso Machine BES450BSS, Brushed Stainless Steel |
|
| 9 | CASABREWS CM5418 Espresso Machine 20 Bar, Compact Espresso Maker with Steam Milk Frother, Stainless Steel Coffee Machine with 34oz Removable Water Tank for Cappuccino, Gift for Women or Men, Silver |
|
| 10 | Breville Barista Express Impress Espresso Machine BES876BSS, Brushed Stainless Steel |
|
First things first, clear the decks. Empty the drip tray and the water tank completely. Crucially, remove the water filter from the tank. Now, prepare your descaling solution: dissolve one packet of Breville descaler with 1 liter (34 fl oz) of warm water. Pour this mixture into the empty water tank and then re-insert the tank securely back into your machine. Place your large waste container under both the group head and the steam wand.
Initiating Descale Mode
With your machine turned off, simultaneously press and hold the ‘Power’ button and the ‘2-cup’ button for a few seconds. This combination will activate the machine’s descale mode. The machine will then begin its heating process, and you’ll notice the ‘Power’ button flashing continuously, indicating it’s getting ready for the cycle. Once the machine is fully heated and ready to proceed, the ‘Power’ button, ‘1-cup’ button, ‘Clean/Descale’ indicator, and ‘Hot Water/Steam’ indicator will all illuminate steadily.
Running the Descaling Cycles
Your machine is now primed to tackle limescale. The descaling process typically runs in stages through different components:
- Group Head Cycle: Press the ‘1-cup’ button to begin descaling the coffee component. The descaling solution will run through the group head. This cycle usually lasts for approximately 25 seconds, with the ‘1-cup’ button flashing during this time. Once complete, the button will remain steady.
- Steam Wand Cycle: Next, manually turn the steam dial to the left, towards the ‘Steam’ icon. The machine will then purge the descaling solution through the steam wand. Allow this to run for about 13 seconds.
- Hot Water Spout Cycle: After the steam wand cycle, turn the steam dial to the right, towards the ‘Water’ icon. The solution will now flow through the hot water spout for approximately 8 seconds.
- Repeat as Needed: Once these initial cycles are complete, approximately half of your descaling solution will have been used. To ensure a thorough clean, repeat steps 1-3 to completely empty the water tank of the remaining descaling solution. Remember to turn the steam dial back to the vertical (standby) position after each steam/hot water cycle.
The All-Important Rinse Cycle
Once all the descaling solution has been run through the machine, it’s vital to rinse it thoroughly to remove any chemical residue. Remove the water tank, rinse it meticulously with fresh water, and then refill it to the ‘Max’ line with clean, cold tap water. Place your waste container back under the group head and steam wand.
Now, repeat the entire descale cycle (steps 1-4 from “Running the Descaling Cycles”) using only fresh water. This flushes out any remaining descaler from the internal system, ensuring your next coffee tastes pure and free of chemical aftertaste. You may need to run two full rinse cycles if your water tank capacity is smaller, or if you want extra assurance.
Exiting Descale Mode
After the rinse cycles are complete and the water tank is empty, press the ‘Power’ button to exit the descale mode. All the indicator lights should turn off, signifying that the process is finished. Replace the water filter if you use one, and your Breville espresso machine is now ready to brew delicious coffee once more!
Choosing the Right Descaler for Your Breville
When it comes to descaling, the choice of product matters significantly. Breville offers its own branded descaling powder or liquid, which is specifically designed for their machines. These formulations are safe for all internal components, including those made of aluminum.
Using generic descalers or homemade solutions like vinegar, while sometimes suggested for basic coffee makers, can be detrimental to your Breville machine. Vinegar’s acetic acid content can react with certain metals, particularly aluminum, leading to corrosion and damage to seals and gaskets. This can result in costly repairs and potentially void your machine’s warranty. Always err on the side of caution and invest in the manufacturer-recommended descaler to protect your valuable espresso machine.
Common Descaling Mistakes to Avoid
Even with clear instructions, some common pitfalls can hinder your descaling efforts or even damage your machine:
- Not Descaling Frequently Enough: Ignoring the “Clean/Descale” light or waiting too long between descales allows limescale to accumulate significantly, making it harder to remove and increasing the risk of damage.
- Using Incorrect Descaling Agents: As discussed, vinegar or harsh chemical cleaners can harm your machine’s internal parts. Stick to Breville-approved solutions.
- Skipping Rinse Cycles: Failing to perform thorough rinse cycles after descaling can leave chemical residue in your machine, affecting the taste of your coffee and potentially posing health risks.
- Not Removing the Water Filter: Leaving the water filter in during descaling will cause it to absorb the descaling solution, reducing its effectiveness and potentially damaging the filter itself.
- Not Using a Large Enough Container: The descaling process expels a good amount of liquid. A small container will overflow, creating a mess.
When to Seek Professional Help
While descaling is a routine maintenance task you can perform at home, sometimes issues persist or arise that require professional attention. If, after a thorough descale and rinse, your machine still exhibits symptoms like significantly reduced water flow, weak pressure, unusual noises, persistent leaks, or if the “Clean/Descale” light refuses to turn off, it might be time to contact Breville customer support or a certified service technician. Attempting complex repairs yourself without proper training can further damage the machine or void its warranty.
Maximizing Your Breville’s Lifespan Beyond Descaling
Descaling is a cornerstone of Breville machine maintenance, but a holistic approach will ensure its longevity and peak performance:
- Regular Cleaning: Beyond descaling, perform daily cleaning routines. Wipe down the steam wand immediately after use, clean the group head and portafilter, and empty/clean the drip tray regularly. Use Breville cleaning tablets for backflushing to remove coffee oils.
- Use Filtered Water: While not a substitute for descaling, using filtered water (e.g., Brita, machine’s built-in filter, or even bottled spring water) can slow down limescale buildup, extending the time between descales.
- Proper Storage: If you plan not to use your machine for an extended period, drain the water tank and boiler to prevent stagnant water issues.
Buying Guide: Essential Descaling Accessories
Having the right accessories makes descaling straightforward. The primary item you’ll need is the official Breville Descaling Powder or Liquid, readily available from Breville’s website or authorized retailers. Additionally, a large capacity container (2+ liters) for catching waste liquid is invaluable. While not directly for descaling, having Breville Espresso Cleaning Tablets for backflushing and microfibre cloths for wiping down surfaces ensures a fully maintained machine.
Conclusion
Maintaining your Breville espresso machine through regular descaling is not just a chore; it’s an investment in the quality of your coffee and the lifespan of your appliance. By understanding what descaling entails, using the correct solutions, and following the simple step-by-step guide, you can effectively prevent mineral buildup that compromises taste and machine performance. Make descaling a routine part of your espresso ritual, and your Breville will continue to reward you with rich, flavorful shots for many years to come. Isn’t a perfect cup of coffee worth a little routine care?
Frequently Asked Questions
How often should I descale my Breville espresso machine?
You should descale your Breville machine when the “Clean/Descale” indicator light illuminates. This typically occurs every 3-6 months, depending on how frequently you use your machine and the hardness of your tap water. Regular descaling is crucial for optimal performance and longevity.
Can I use vinegar to descale my Breville espresso machine?
No, it is strongly advised against using vinegar to descale Breville espresso machines, especially those with aluminum components. Vinegar’s acetic acid can corrode internal parts and damage seals, leading to costly repairs and potentially voiding your warranty. Always use Breville’s recommended descaling solution.
What happens if I don’t descale my espresso machine?
If you neglect descaling, mineral deposits (limescale) will build up inside your machine. This can lead to reduced water flow, inconsistent brewing temperatures, diminished coffee flavor, increased energy consumption, and eventually, blockages or damage to internal components, shortening your machine’s lifespan.
How do I know if my Breville machine has aluminum components?
Most Breville espresso machines, particularly consumer models, incorporate aluminum heating elements or boilers. To be safe, always assume your machine has aluminum components and only use Breville-approved descaling solutions, which are formulated to be safe for all materials used in their machines.
What is the difference between cleaning and descaling a Breville espresso machine?
Cleaning primarily removes coffee oils and residue from the brew head, portafilter, and steam wand, often done with backflushing tablets. Descaling specifically targets and removes mineral deposits (limescale) from the internal water pathways and heating elements. Both are essential, distinct maintenance tasks for your machine.